The pictures speak for themselves . . .
Archive for the ‘Roubo Workbench’ Category
Sliding Vise
January 1, 2010Roubo Workbench Part 4
December 19, 2008Build this bench! It will be the best woodworking decision you ever made.
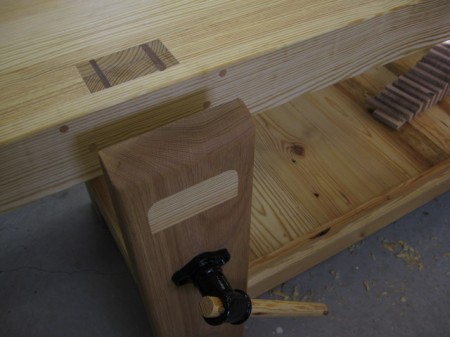
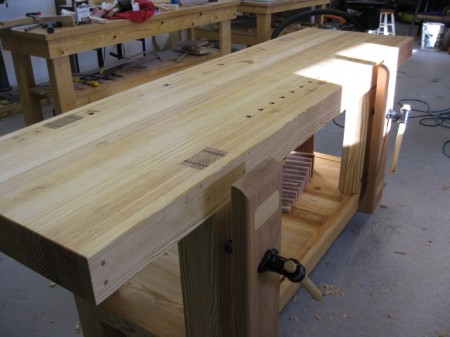
Roubo Workbench Part 3
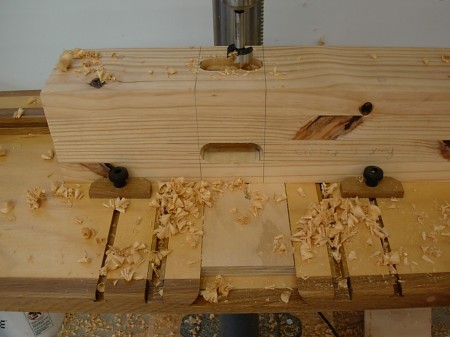
December 19, 2008I cut the mortises in the legs to receive the stretchers using my drill press and a forestener bit.
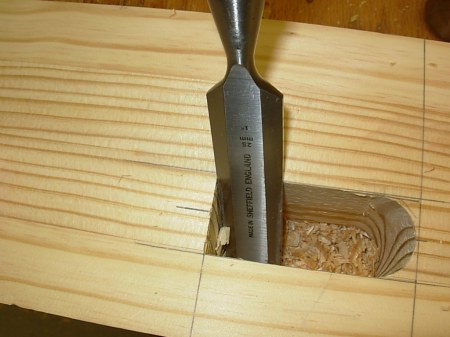
I squared off the mortise with a chisel.
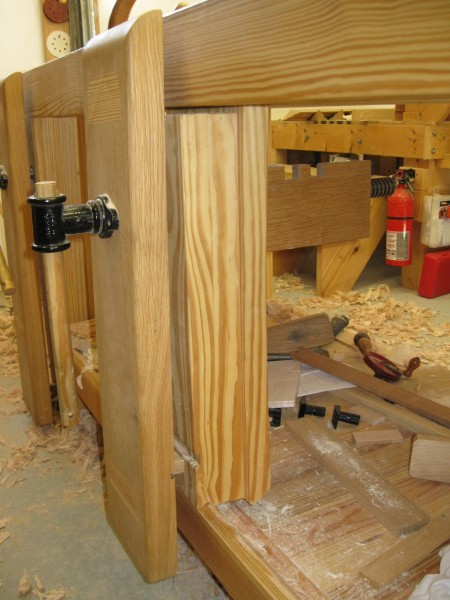
I don’t have any picture of the base assembly. My digital camera died (remember when Nikon used to make quality cameras?).
I used the drawbore method that Chris S. describes in his book. It worked like magic! The best part is not having to use clamps.
Roubo Workbench Part 2
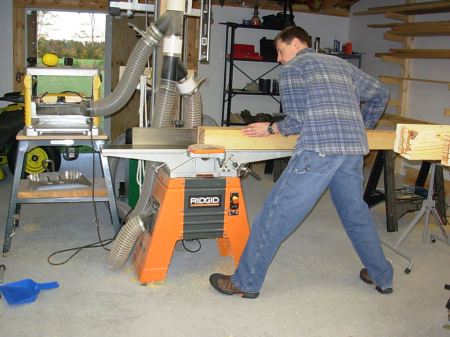
November 30, 2008I milled up the top sections using the jointer and planer. It was easier then I thought; although it was quite a workout. You can’t see it in the picture below, but I used aux. supports forward and aft of both the jointer and planer. These were essential. I checked my jointer fence for square before I started, and I’m glad I did. It was off.
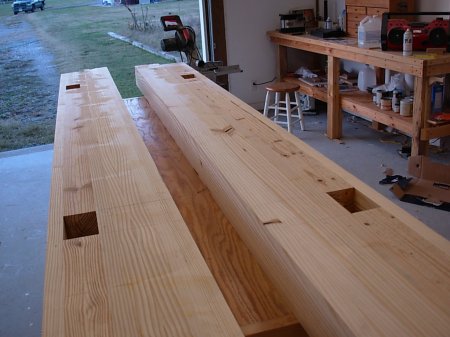
Here are the top sections after milling.
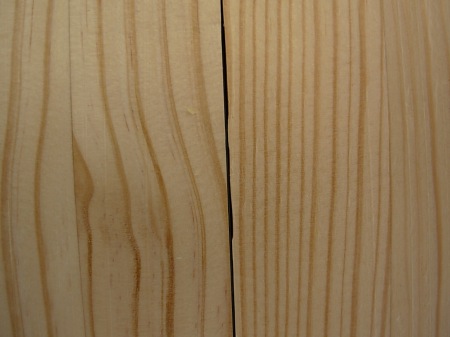
The next step is to glue up the top sections. I decided not to glue them up at once; I glued just two at a time. The picture below shows a gap in my dry fit up between two sections. The gap was due to the clamps deforming the wood. Allthough I was using parallel jaw clamps, SYP is fairly soft and jaws dented it
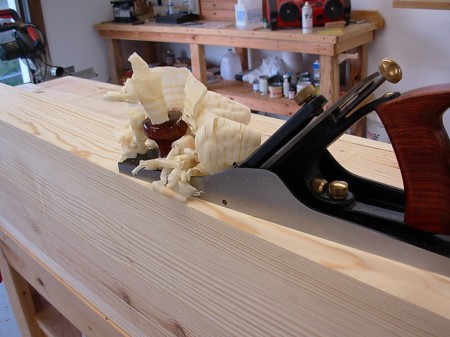
I was almost glad to see the dents, because that gave me an excuse to pull out my LV No. 6 plane. It may not be the most popular plane, but I love it’s size and mass. SYP is fun to plane. At this point the sections were too big and ackward to joint on the powered jointer, so using the plane was my only solution. A couple years ago (before I became proficient at hand planing) I would not have known what to do to joint the two heavy sections. How would a power tool only woodworker do it?
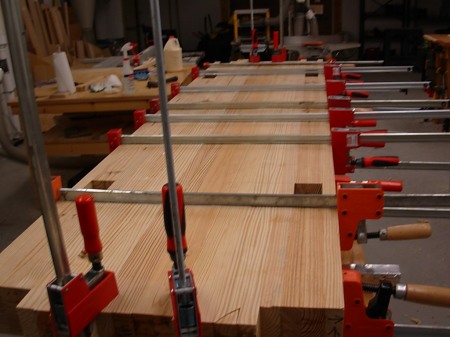
Below is the glue up for the top. Hand planing was required for a gap free fit, but not much. Precise milling of each small section made a big difference in the final fit up..
Roubo workbench
November 1, 2008I started building a workbench recently. Thanks to the plans in Chris Schwarz’s book, it will be a variation of an 18th century French design. Why this design? Back then, they built benches strong, heavy and massive. Chiseling and planing works best on heavy, immobile surfaces, which is what this bench will be.
I followed the recommendation in the book and used Southern Yellow Pine (SYP). I picked through the whole lot at the BORG and bought the straightest and best looking boards.
I started with the legs first. They will be through mortised and wedged into the top. Material for the legs were milled true on the jointer and planer first. The legs are 4 boards laminated together. The middle two boards will “stick out” further then the outer two, leaving a tenon that will be insterted all the way through the 4″ top.
To get a perfect tenon, Chris recommends using spacers that are temporarly attached to the tenons, making it easy to align all the boards in the lamination.
Below is the process. Using the clamps helped me align the spacer blocks perfectly. I adjusted the spacer with hammer taps to get it perfectly flush with the end of the tenon board.
Then I clamped the spacer and screwed it into place.
The process is reapeated for the other tenon board.
Next I wiped the sap residue off with Acetone, helping the glue absorb into the wood. In this picture you can see how the lamination will be arranged and how the spacer blocks align everything.
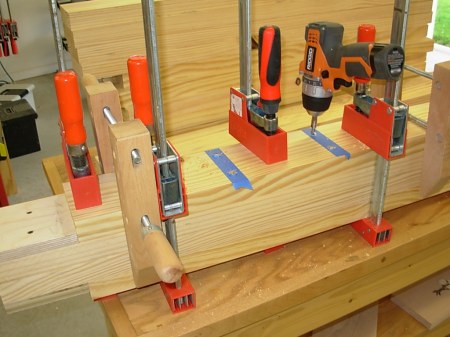
Next I dry clamped the four boards together and drilled holes for Miller dowels. Although the dowels are not necessary, they will help align everything during the real clamp up (plus I like the look of dowels). I find drilling the holes through blue painters tape helps prevent tear out.
I coated the surfaces with glue, pounded in the dowels, and clamped everying up. The spacer blocks were removed next and the two tenon boards clamped together. The miller dowels really helped with the alignment; I’m glad I used them (I like Miller dowels so much, I used 40 of them on the top of my tablesaw outfeed table!).
Below is the resulting legs, and even better, my beautiful daughter, Noelle!
For the top, I milled four boards flat using the jointer and planer. I’ll glue up 5 small sections first of 4 boards each, mill those flat and straight, then glue those sections together. Each section is small enough to fit through the planer.
The legs will be through tenons. I left a gap in the top for the legs, using a spacer to keep the gap consistent.
The mortise spacer is milled to the same width as the tenons on the legs, but the thickness is slightly smaller. I will hand plane the thickness on the tenons using a shoulder plane. The width doesn’t need as precise a fit since it will be eventually spread with wedges.
Below is a section dry clamped. You can see the spacer inserted, which will be hammered out before the glue sets, leaving a mortise in place.
The resulting mortise.

